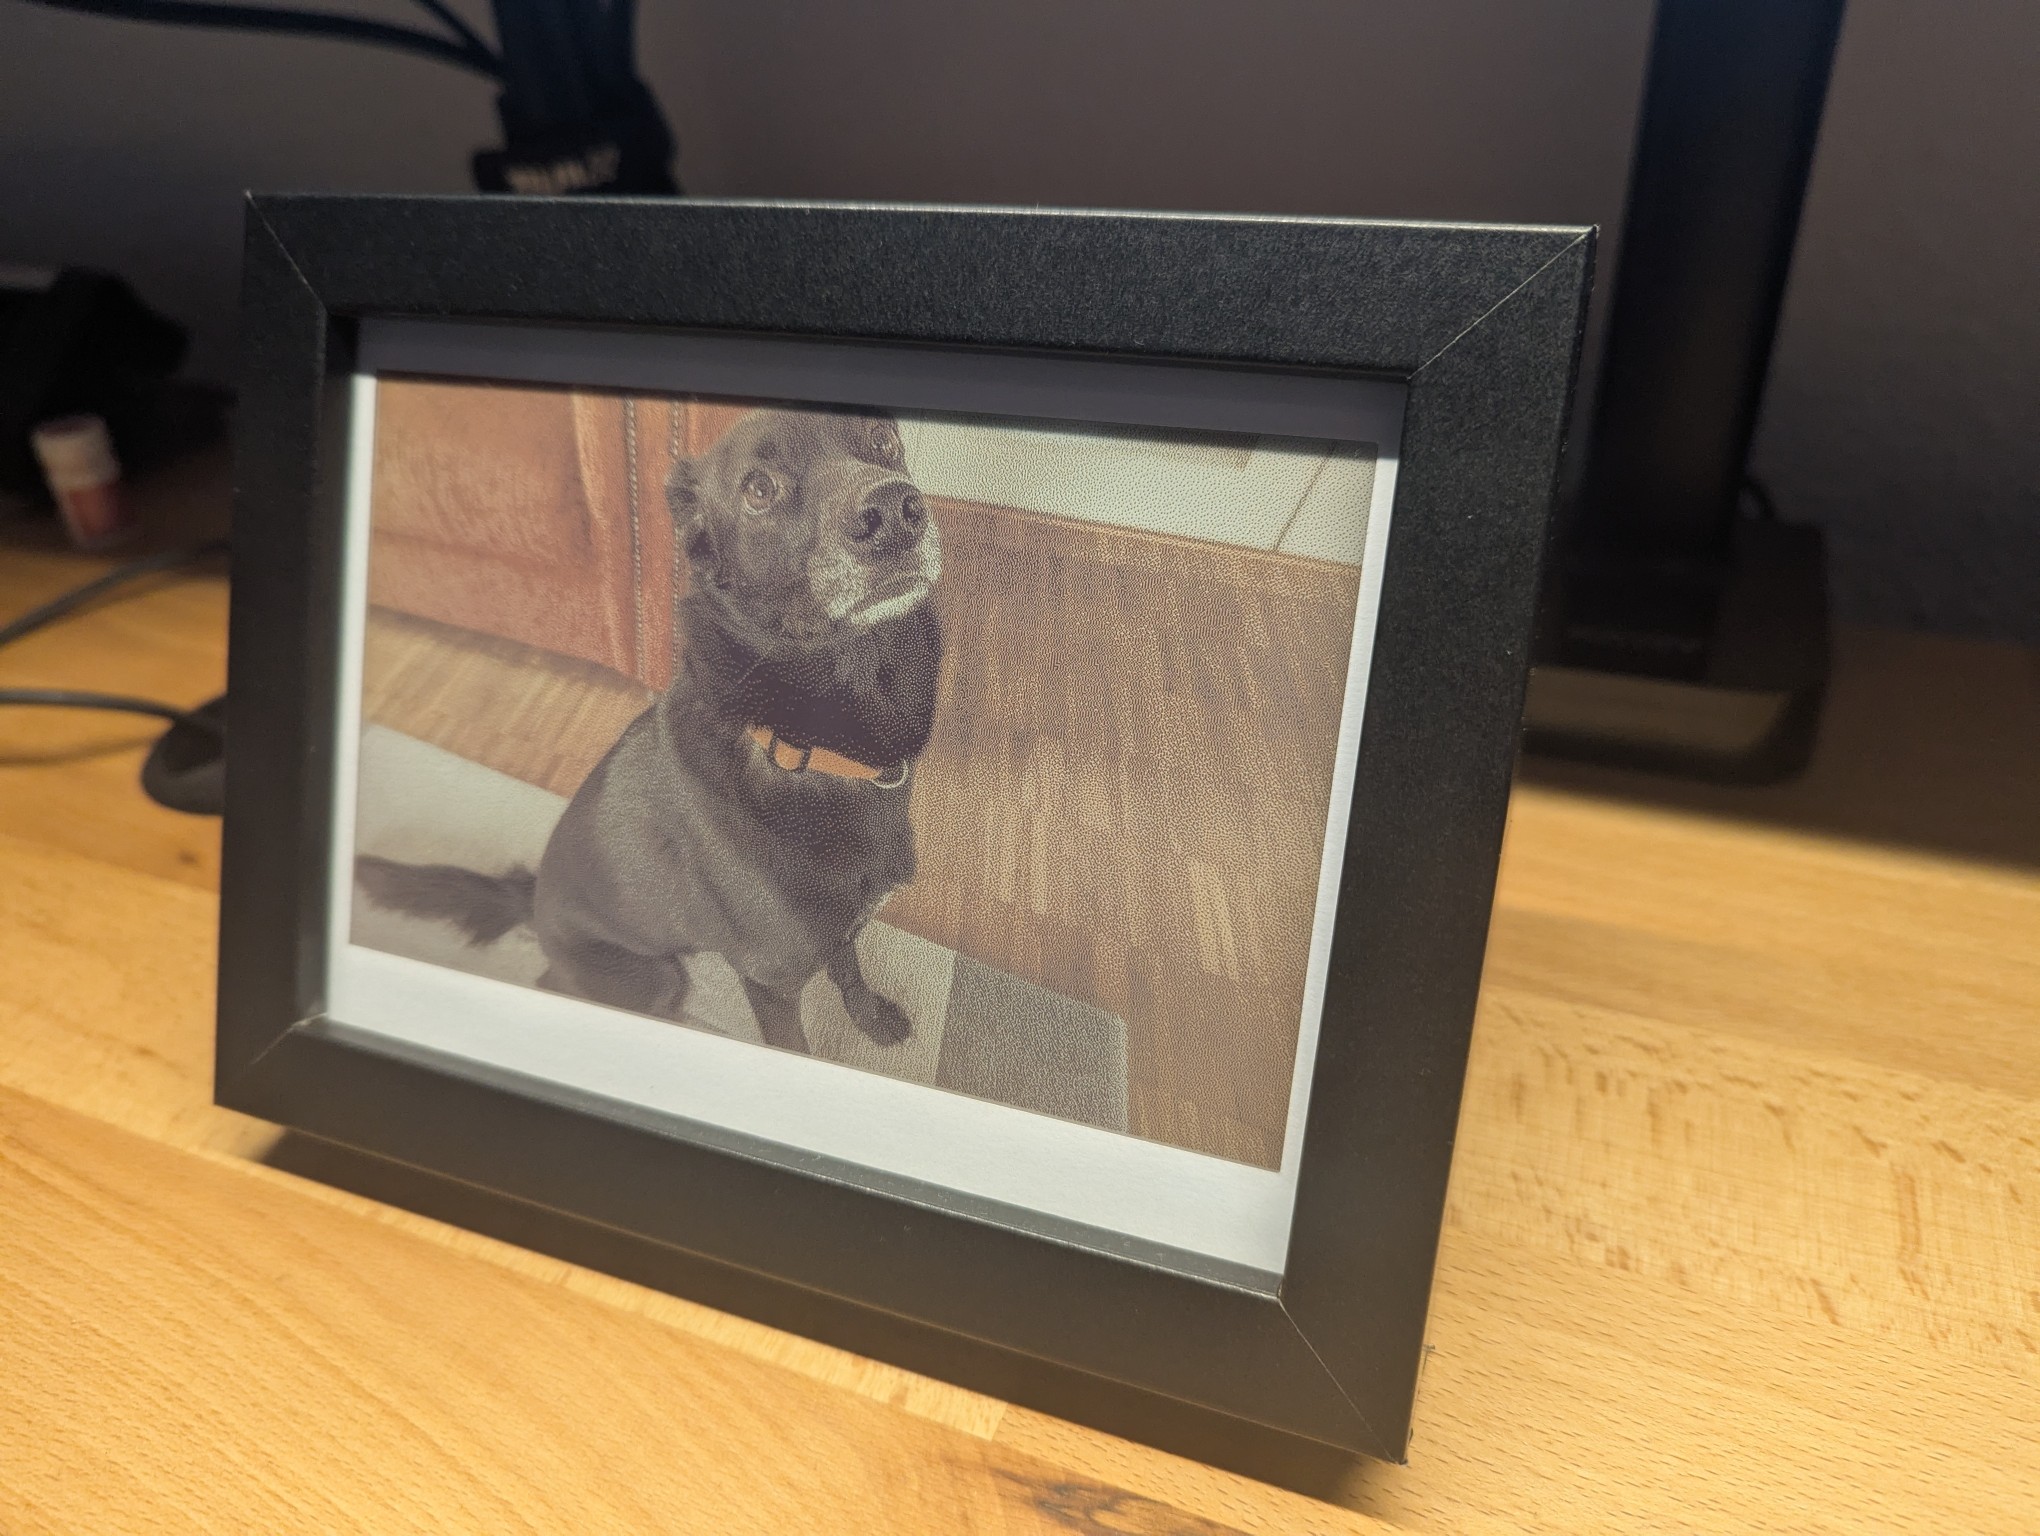
This is a surprise for my mother, so the post is be a bit delayed.
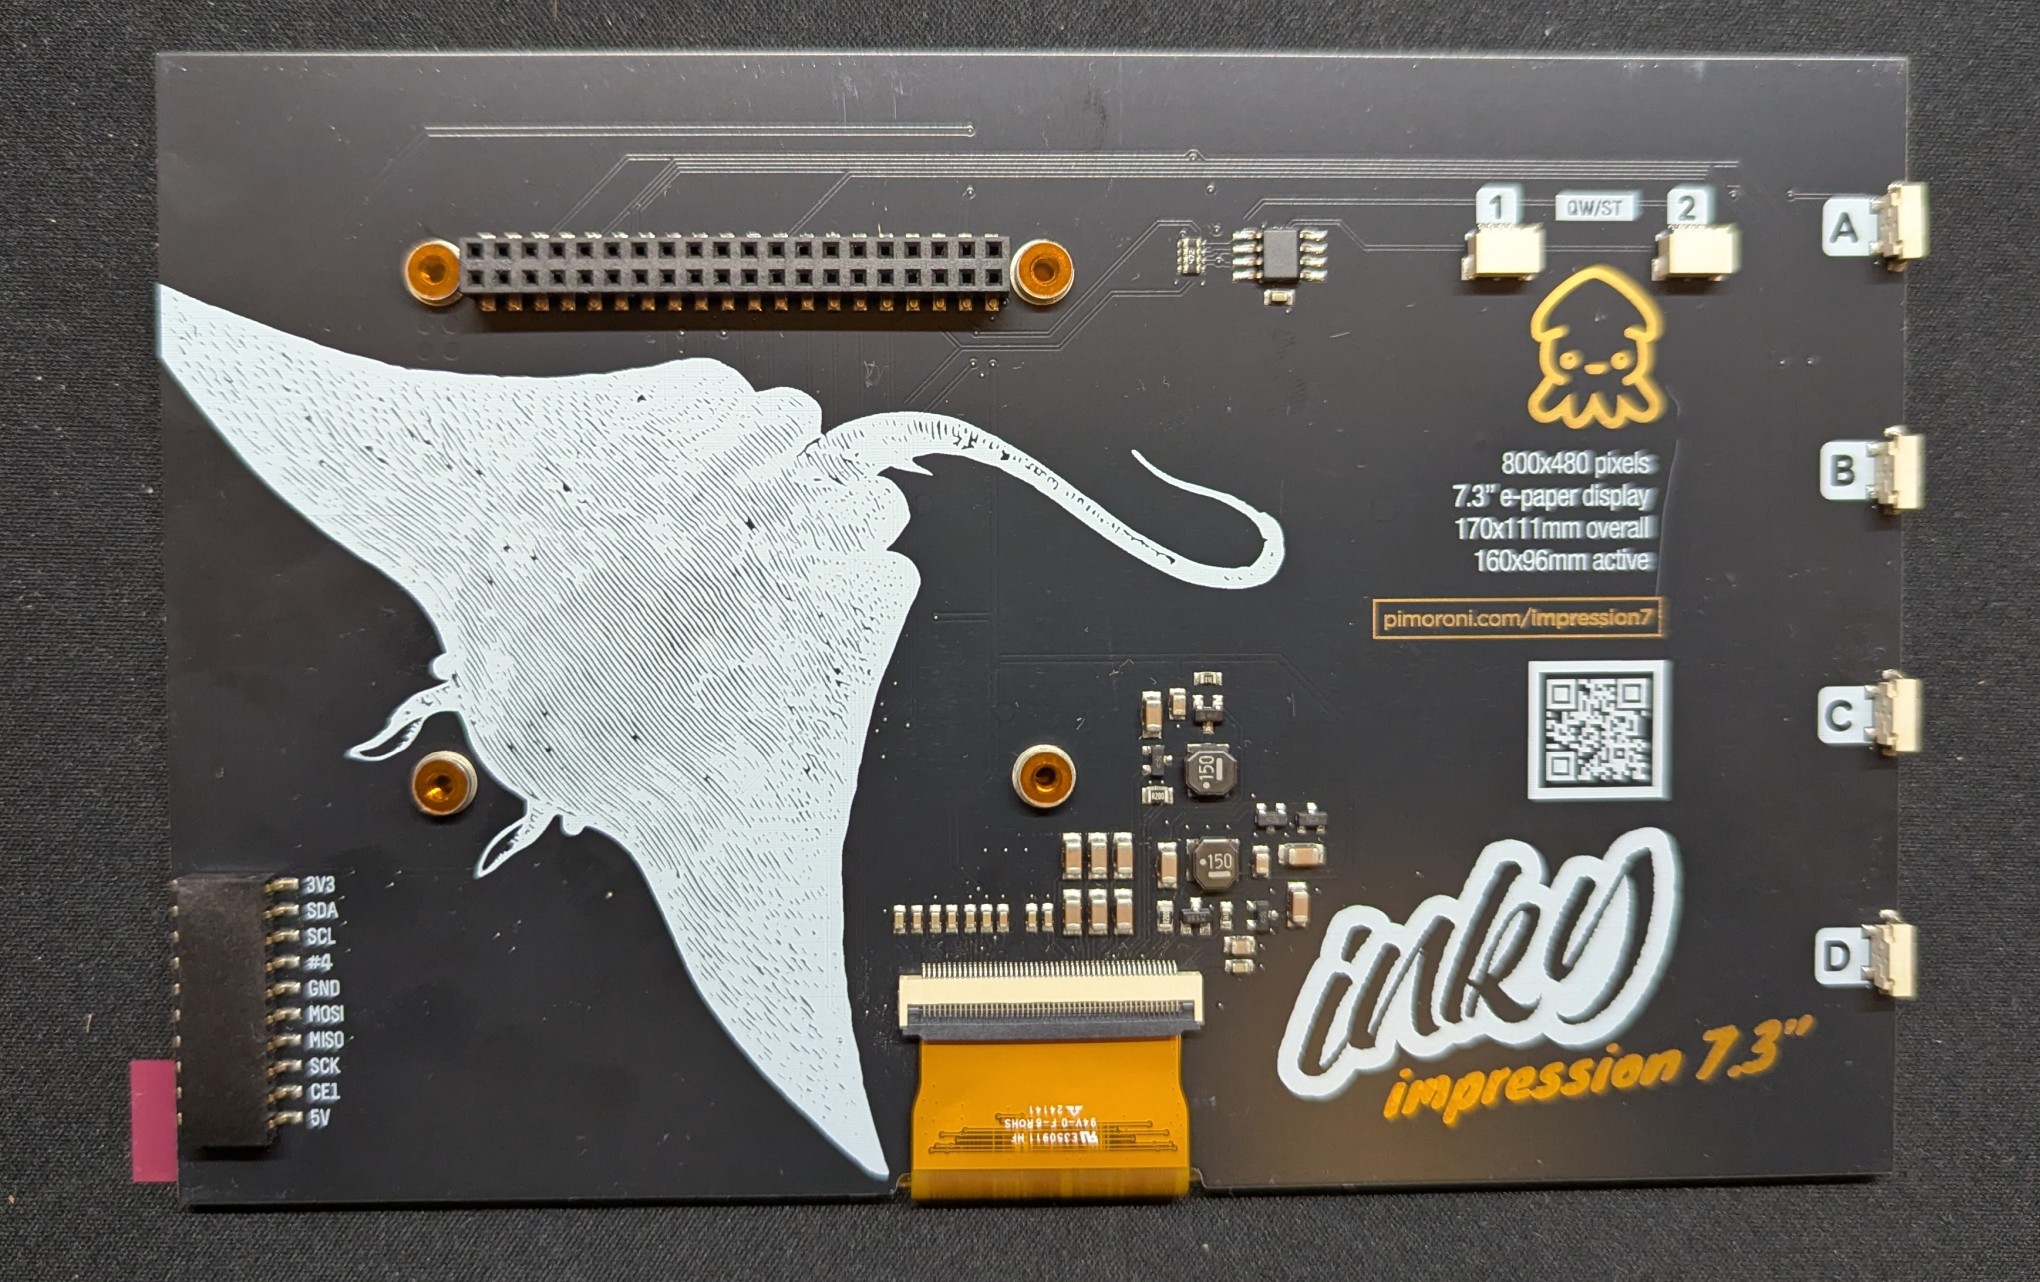
The story begins with me having a Raspberry Pi Zero lying around and the wanting to do something useful with this tiny computer. In fact, it all started when the algorithm suggested a video to me of someone using a Raspberry Pi to create a digital photo frame.
After some contemplation, I decided to order a 7.3 inch panel from the UK. Side note: a refined version featuring a different color arrangement and a highly improved refresh rate was released shortly after I bought mine. My display takes around 50 seconds to refresh an image, which is rather slow but fine for my use-case. After some waiting for the panel to arrive and I could start prototyping. The first task was to solder the pins onto the Raspberry Pi. I had not done this before as I was unsure on how to use the device, now was the time.
Setting up the website and changing the configuration was easy and soon I was able to display the first image. With this step done, the next task was to finish the hardware side of the build. This was somewhat unsuccessful as I initially purchased a fixed frame from a large furniture store and later realized that I needed to consider the width of the screen border, not just the screen width. So, off I went again, this time to a different furniture store. Here I found a frame with the right size and with a glass plate that makes the whole asembly feel a bit more valuable.
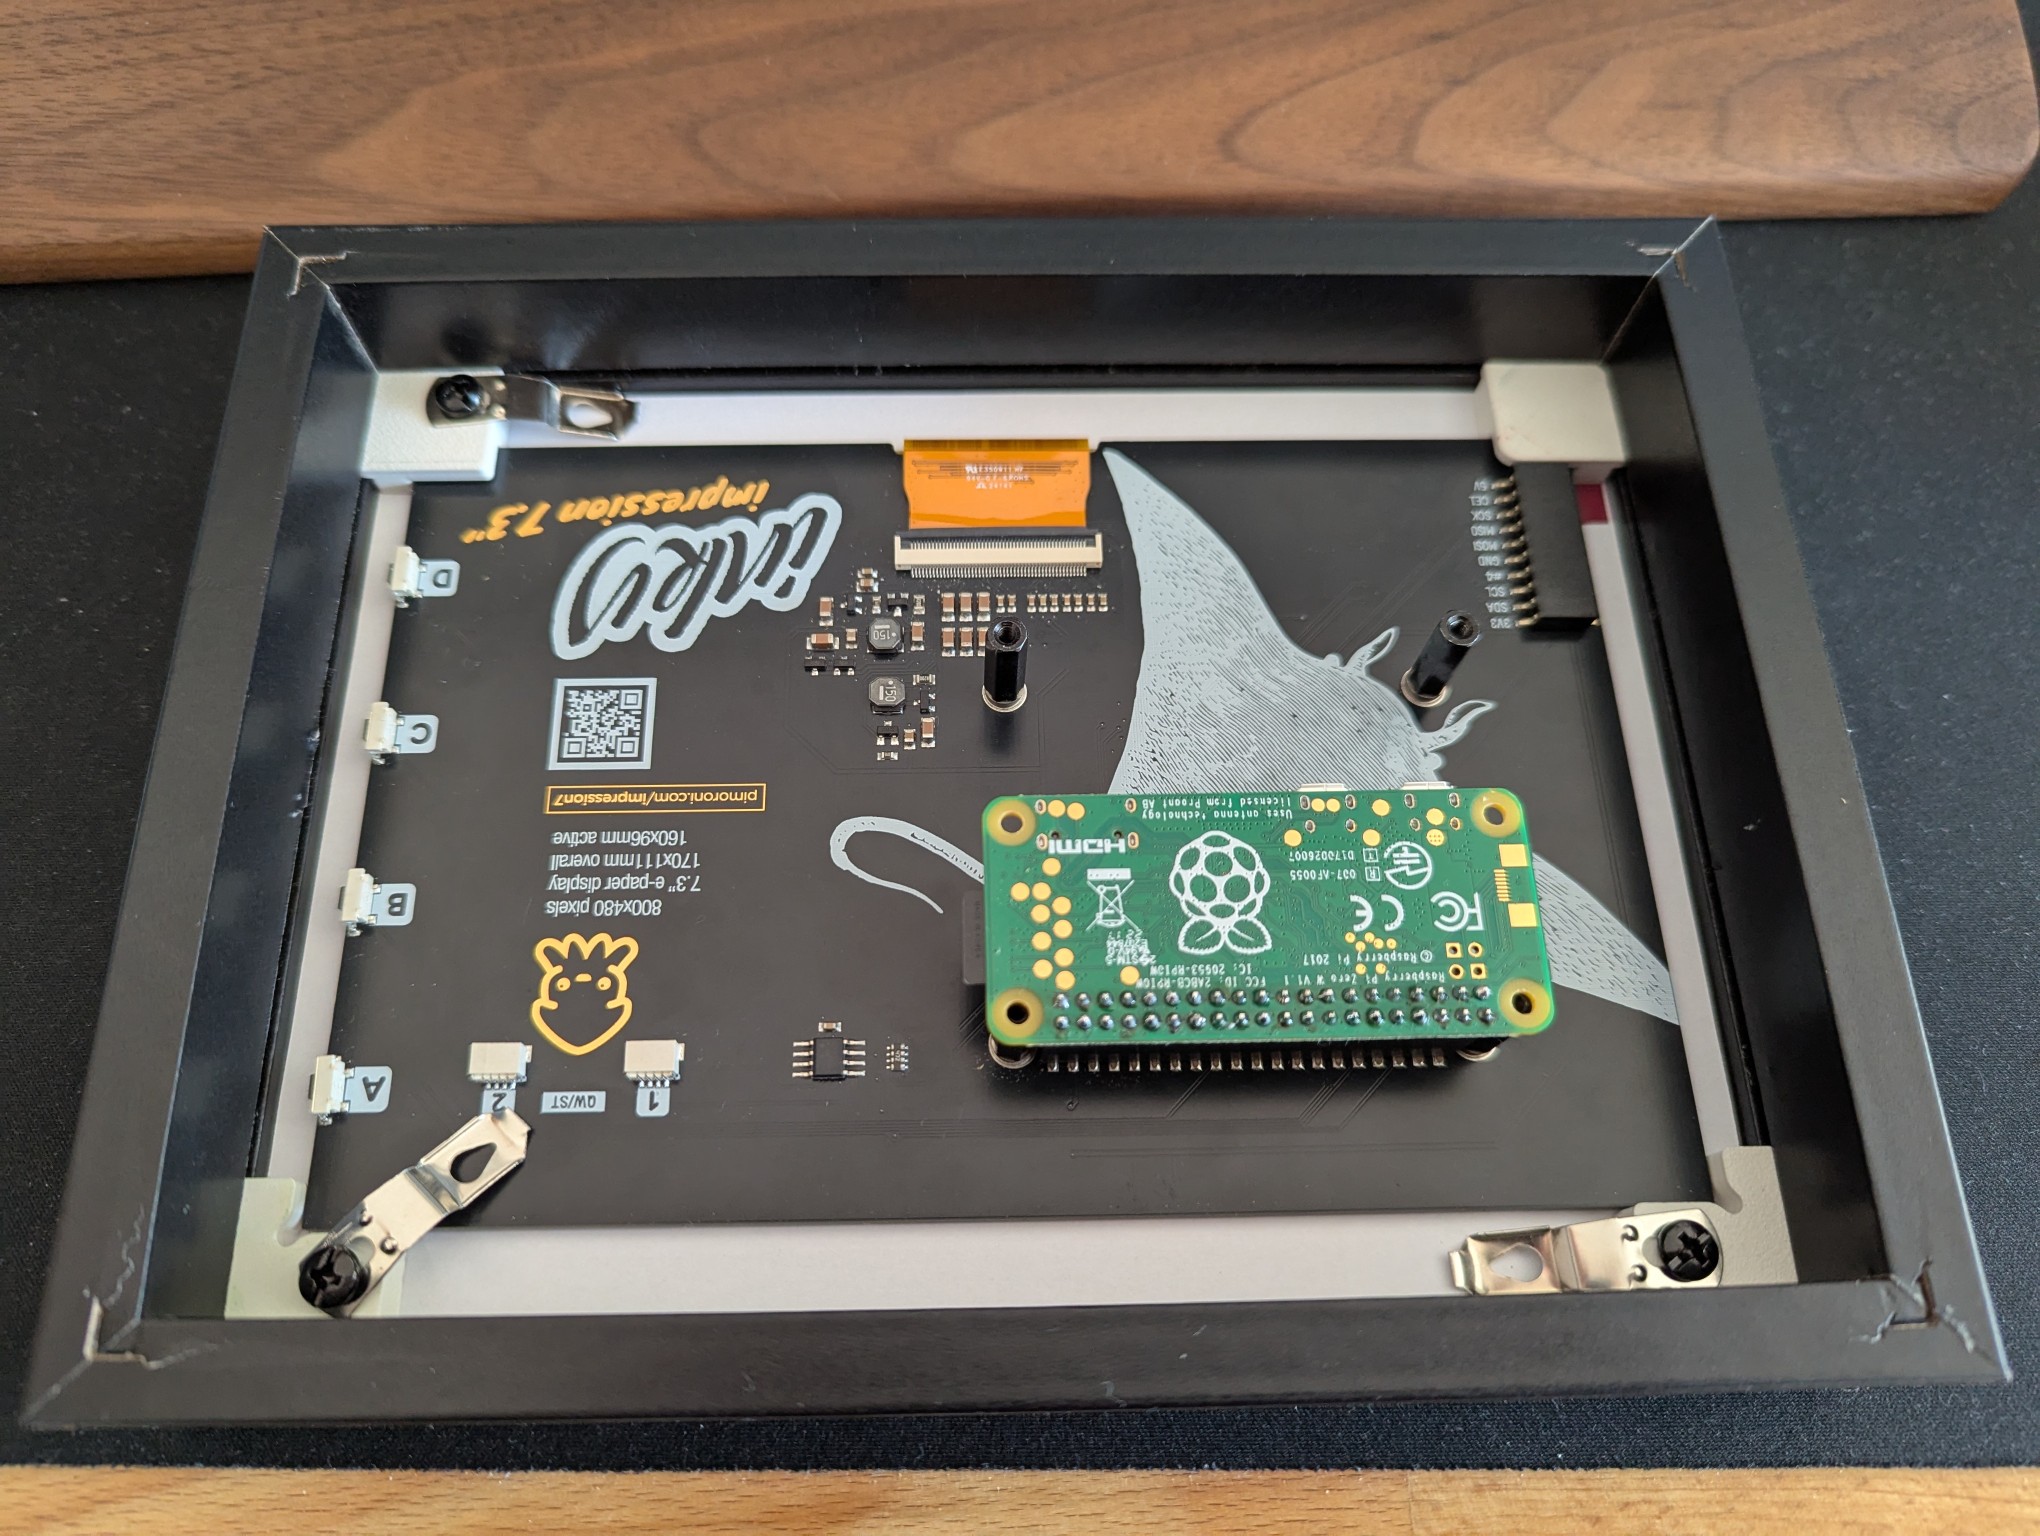
Using my 3D-Printer and some simple test prints to create the first prototype. With this, I could create custom blocks to hold the screen in place and utilize the features of the frame, as well as reuse the metal clips that would usually secure the back plate. The screen has metal standoffs and mounting holes, for the lager Raspberry Pi models, but after some contemplation, I decided not to use the mounting holes because the force of the header pins is sufficient.
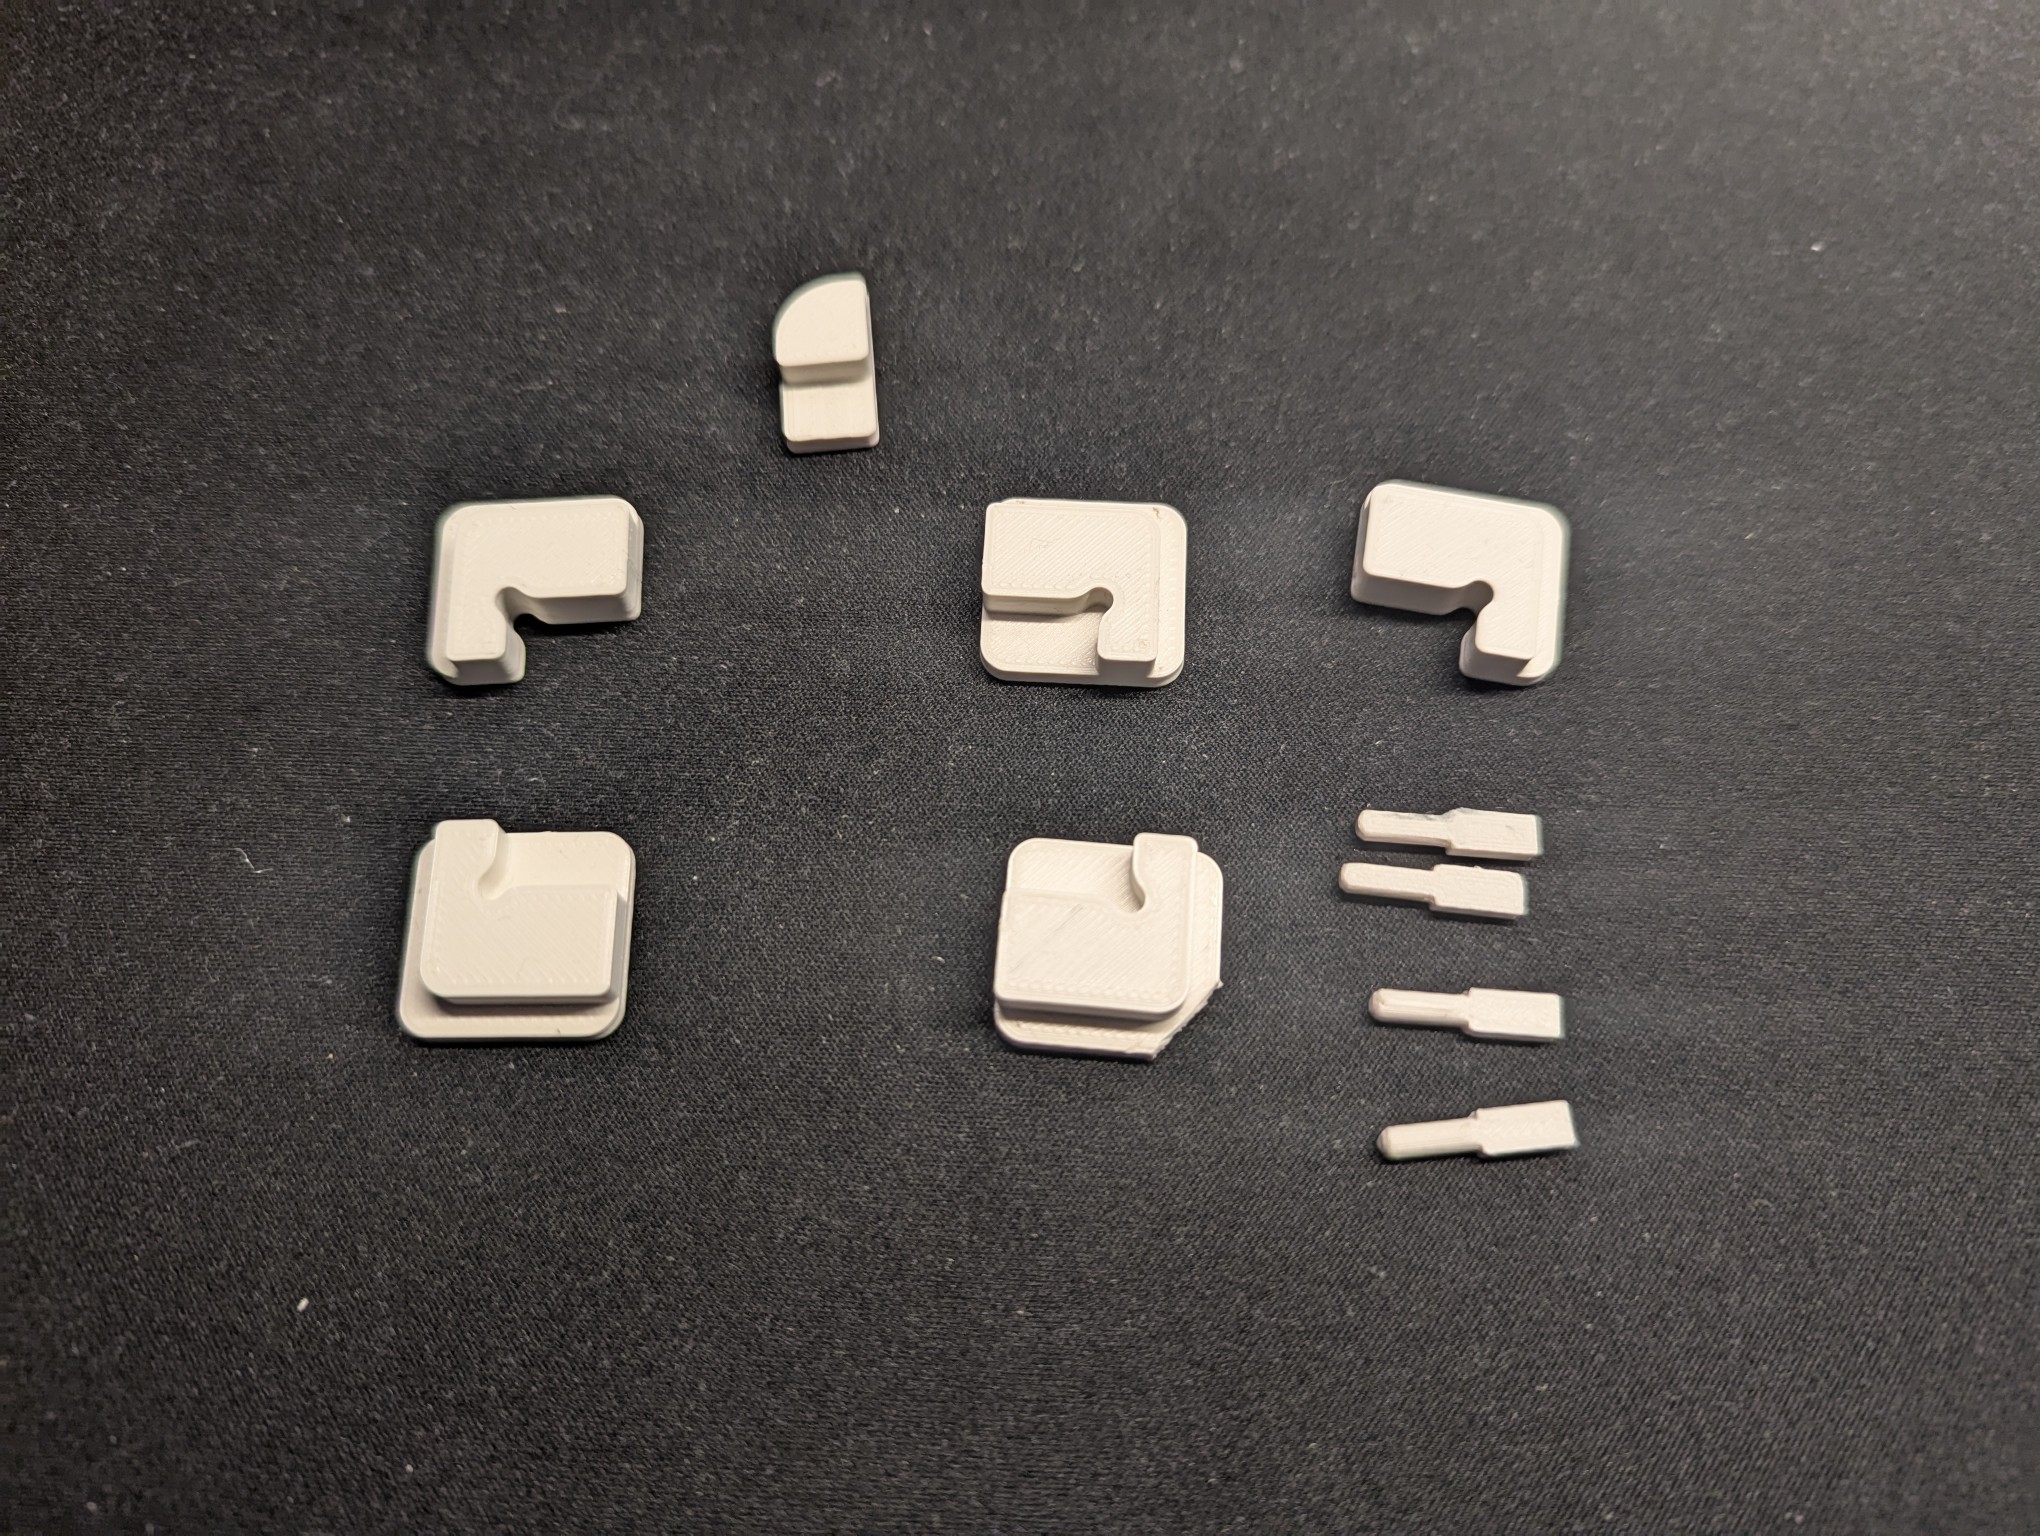
After some iteration, I decided to reuse the MDF backplate to cover up the screen and take advantage of its stand feature. To secure the backplate, I had to make revise the printed pieces. As a result, some pieces had to be replaced and remodeled. Now, machine screws secure the backboard with the help of metal inserts.
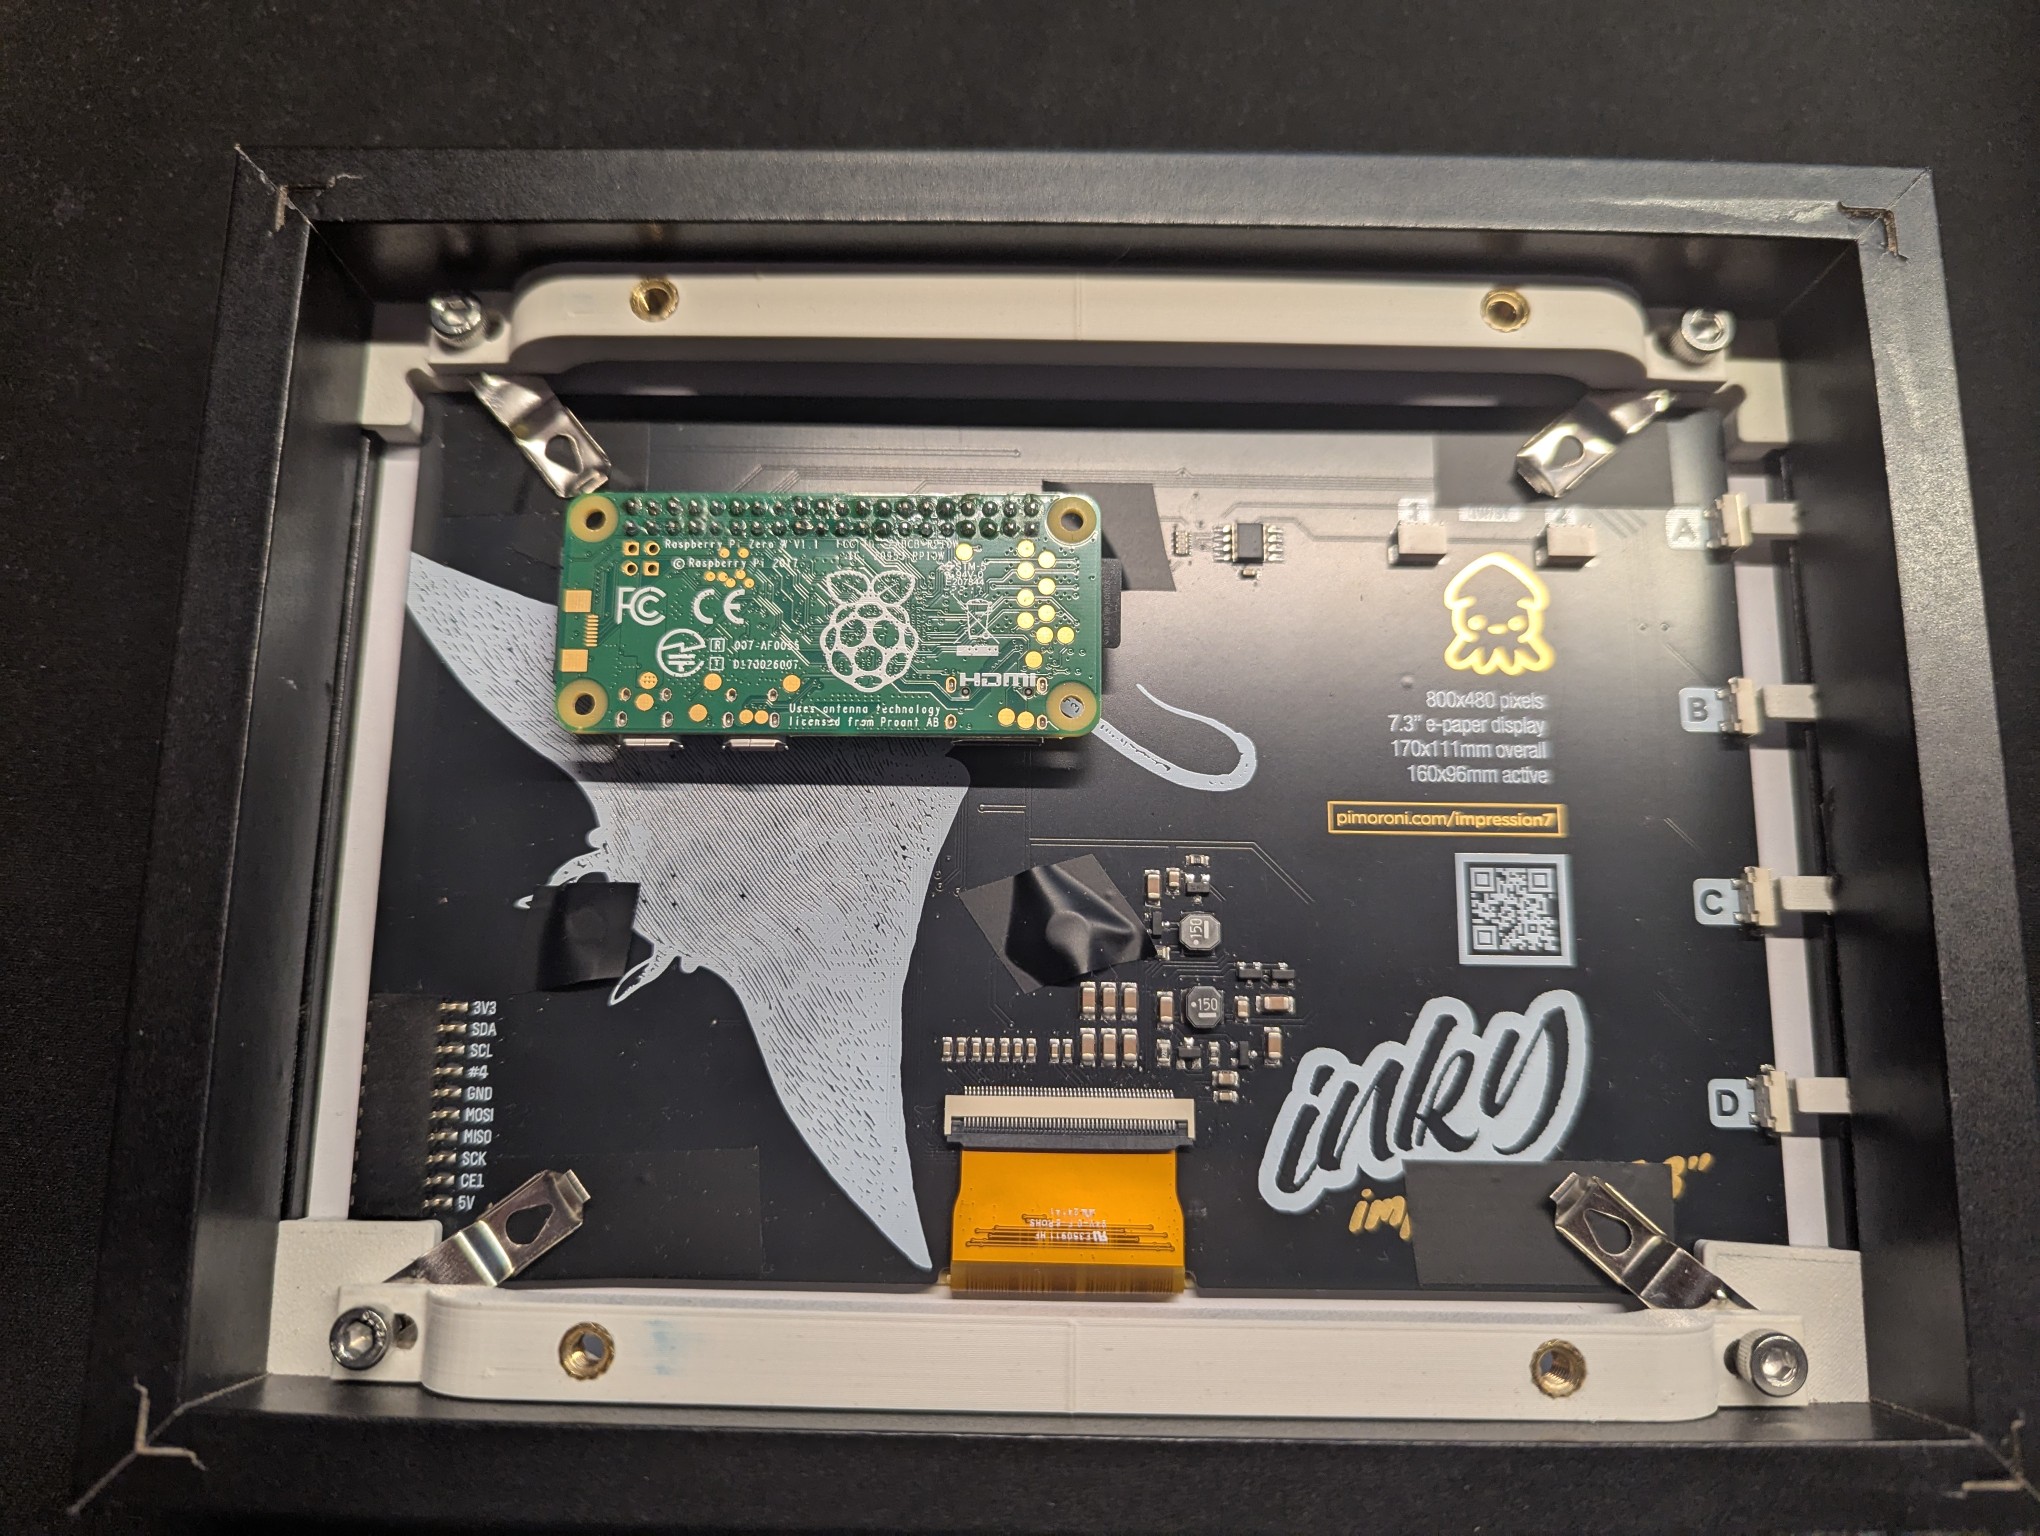
Since the screen has four buttons on the side, I wanted to expose this input on the frame. I created a small template for drilling and somehow the buttons perfectly aligned with the groove used for the retention clips. Some printed pegs later, the buttons could be reached from the outside.
This finished the hardware. Next came the software. Luckily, the InkyPi software is open source and already has a framework of plugins that I can build upon and extend. First, I improved some of the pluign logic and then I added a simple plugin that allows me to download an image from the web. Finally some hacked logic that would convert the button presses into system calls, allowing me to alter the image or shut down the system without using the web ui.
The final result speaks for itself and it was a fun project to complete. As a gift, I could immediately put the picture frame to use as a gift by loading the birthday pictures onto it, so that the wonderful party could live on for a little while longer.